How to Set Up a Kubernetes Cluster on Onidel VPS (Sydney)
Running Kubernetes on managed services like AWS EKS or GKE is convenient — until you see the bill. For Australian teams, there’s a stronger case: self-hosting a k8s cluster on a Sydney VPS keeps your data onshore, cuts latency for local workloads, and costs a fraction of a managed control plane.
This guide walks you through provisioning a three-node Kubernetes cluster on Onidel’s Sydney VPS using kubeadm, containerd, and Flannel. By the end you’ll have a working cluster you can validate with kubectl get nodes.
Why Self-Host Kubernetes in Australia?
AWS EKS in ap-southeast-2 (Sydney) costs $0.10/hour for the control plane alone — roughly $73/month before you add a single EC2 worker node. Three t3.medium instances (2 vCPU, 4 GB) adds another ~$114/month. You’re at $187/month before storage, data transfer, or load balancers.
Self-hosting on Onidel VPS removes the managed control plane fee entirely. You own the nodes. You pay for compute, nothing else.
Beyond cost, there are compliance reasons: the Australian Privacy Act 1988 and sector-specific frameworks (ASD Essential Eight, IRAP) increasingly require data residency in Australia. Running your cluster in Sydney, on Australian infrastructure, simplifies that conversation with auditors.
What You’ll Need
- TCP 6443 — Kubernetes API server
- TCP 2379–2380 — etcd (control plane only)
- TCP 10250 — kubelet API (all nodes)
- TCP 10257, 10259 — controller manager, scheduler
- TCP 30000–32767 — NodePort services (optional but useful)
- UDP 8472 — Flannel VXLAN
For this guide the three nodes are:
cp-node   203.0.113.10   # control plane
worker-1  203.0.113.11
worker-2  203.0.113.12
Substitute your actual IPs throughout.
Step 1 – Prepare All Three Nodes
Run these commands on all nodes as root.
Disable swap. Kubernetes requires swap to be off.
swapoff -a
sed -i '/ swap / s/^/#/' /etc/fstab
Enable required kernel modules and sysctl settings.
cat <<EOF | tee /etc/modules-load.d/k8s.conf
overlay
br_netfilter
EOF

modprobe overlay
modprobe br_netfilter

cat <<EOF | tee /etc/sysctl.d/k8s.conf
net.bridge.bridge-nf-call-iptables  = 1
net.bridge.bridge-nf-call-ip6tables = 1
net.ipv4.ip_forward                 = 1
EOF

sysctl --system
Update packages.
apt-get update && apt-get upgrade -yStep 2 – Install containerd
Kubernetes 1.24+ requires a CRI-compliant container runtime. containerd is the standard choice.
apt-get install -y ca-certificates curl gnupg lsb-release

install -m 0755 -d /etc/apt/keyrings
curl -fsSL https://download.docker.com/linux/ubuntu/gpg | \
  gpg --dearmor -o /etc/apt/keyrings/docker.gpg
chmod a+r /etc/apt/keyrings/docker.gpg

echo "deb [arch=$(dpkg --print-architecture) signed-by=/etc/apt/keyrings/docker.gpg] \
  https://download.docker.com/linux/ubuntu $(lsb_release -cs) stable" | \
  tee /etc/apt/sources.list.d/docker.list

apt-get update
apt-get install -y containerd.io
Configure containerd to use the systemd cgroup driver — required for Kubernetes:
containerd config default | tee /etc/containerd/config.toml
sed -i 's/SystemdCgroup = false/SystemdCgroup = true/' /etc/containerd/config.toml
systemctl restart containerd
systemctl enable containerd
Step 3 – Install kubeadm, kubelet, and kubectl
Run on all nodes. This installs Kubernetes 1.32 (current stable as of early 2026).
curl -fsSL https://pkgs.k8s.io/core:/stable:/v1.32/deb/Release.key | \
  gpg --dearmor -o /etc/apt/keyrings/kubernetes-apt-keyring.gpg

echo 'deb [signed-by=/etc/apt/keyrings/kubernetes-apt-keyring.gpg] \
  https://pkgs.k8s.io/core:/stable:/v1.32/deb/ /' | \
  tee /etc/apt/sources.list.d/kubernetes.list

apt-get update
apt-get install -y kubelet kubeadm kubectl
apt-mark hold kubelet kubeadm kubectl

systemctl enable --now kubelet
apt-mark hold prevents accidental upgrades that could break cluster compatibility.
Step 4 – Initialise the Control Plane
Run this on cp-node only. Replace 203.0.113.10 with your control plane’s public IP.
kubeadm init \
  --apiserver-advertise-address=203.0.113.10 \
  --pod-network-cidr=10.244.0.0/16
The --pod-network-cidr=10.244.0.0/16 flag is required for Flannel (the CNI we install next). If you prefer Calico, use 192.168.0.0/16 instead.
When kubeadm init completes, it prints a kubeadm join command. Copy it — you need it for the worker nodes in Step 6.
Set up kubectl access on the control plane:
mkdir -p $HOME/.kube
cp -i /etc/kubernetes/admin.conf $HOME/.kube/config
chown $(id -u):$(id -g) $HOME/.kube/config
Step 5 – Install the Flannel CNI
Without a CNI plugin, pods can’t communicate across nodes. Install Flannel from the control plane:
kubectl apply -f https://github.com/flannel-io/flannel/releases/latest/download/kube-flannel.ymlWait 30–60 seconds, then confirm the control plane node is Ready:
kubectl get nodes
# NAME       STATUS   ROLES           AGE   VERSION
# cp-node    Ready    control-plane   90s   v1.32.x
Step 6 – Join the Worker Nodes
Run the kubeadm join command from Step 4 on worker-1 and worker-2. It looks like:
kubeadm join 203.0.113.10:6443 \
  --token <token> \
  --discovery-token-ca-cert-hash sha256:<hash>
If the token expired (tokens are valid for 24 hours), generate a new one from the control plane:
kubeadm token create --print-join-commandStep 7 – Validate the Cluster
Back on cp-node, check all nodes are Ready:
kubectl get nodes -o wide
# NAME       STATUS   ROLES           AGE    VERSION   INTERNAL-IP     OS-IMAGE
# cp-node    Ready    control-plane   5m     v1.32.x   203.0.113.10    Ubuntu 22.04
# worker-1   Ready    <none>          3m     v1.32.x   203.0.113.11    Ubuntu 22.04
# worker-2   Ready    <none>          2m     v1.32.x   203.0.113.12    Ubuntu 22.04
Deploy a quick test workload:
kubectl create deployment nginx --image=nginx --replicas=2
kubectl get pods -o wide
# Pods should distribute across worker-1 and worker-2
Your cluster is working when all pods show Running and are spread across both workers.
Latency: Why Sydney Matters
Typical round-trip latency from Sydney to AWS ap-southeast-2 (also Sydney) runs 1–5 ms. Onidel’s Sydney datacenter delivers comparable figures for Sydney-based clients — and keeps your traffic within Australian borders.
For workloads calling Australian government APIs, banking APIs, or services with strict data residency clauses, that local routing matters. Cross-region traffic to us-east-1 or eu-west-1 adds 200–300 ms per request — enough to be noticeable in production.
Cost Comparison: Onidel VPS vs AWS EKS
| Component | AWS EKS (ap-southeast-2) | Onidel VPS (Sydney) |
|---|---|---|
| Control plane | $73/mo ($0.10/hr) | Included (you run it) |
| 3× worker nodes (2vCPU/4GB) | ~$114/mo (t3.medium) | Check current VPS pricing |
| Load balancer | ~$18/mo (ALB minimum) | Optional — use MetalLB or NodePort |
| Managed control plane overhead | Yes | No |
| Data sovereignty | AWS terms apply | Australian infrastructure |
The managed control plane fee alone justifies self-hosting for small-to-medium clusters. The trade-off: you maintain the control plane yourself. For most DevOps teams comfortable with Linux, that’s an acceptable overhead.
What’s Next
A working cluster is just the start. From here:
- Ingress: install ingress-nginx and point your DNS at the NodePort or a load balancer IP.
- Persistent storage: use Onidel Block Storage volumes with the CSI driver, or Object Storage for S3-compatible workloads.
- TLS: deploy cert-manager for automatic Let’s Encrypt certificates.
- Monitoring: drop in the kube-prometheus-stack Helm chart for Prometheus + Grafana.
- GitOps: connect Argo CD to your repo and deploy apps from Git.
Start Your Cluster Today
Three Onidel VPS nodes in Sydney is all it takes to run a production-grade Kubernetes cluster on Australian infrastructure — without paying for a managed control plane.
See Premium VPS plans → or create your account and have nodes running in minutes.
Related Articles
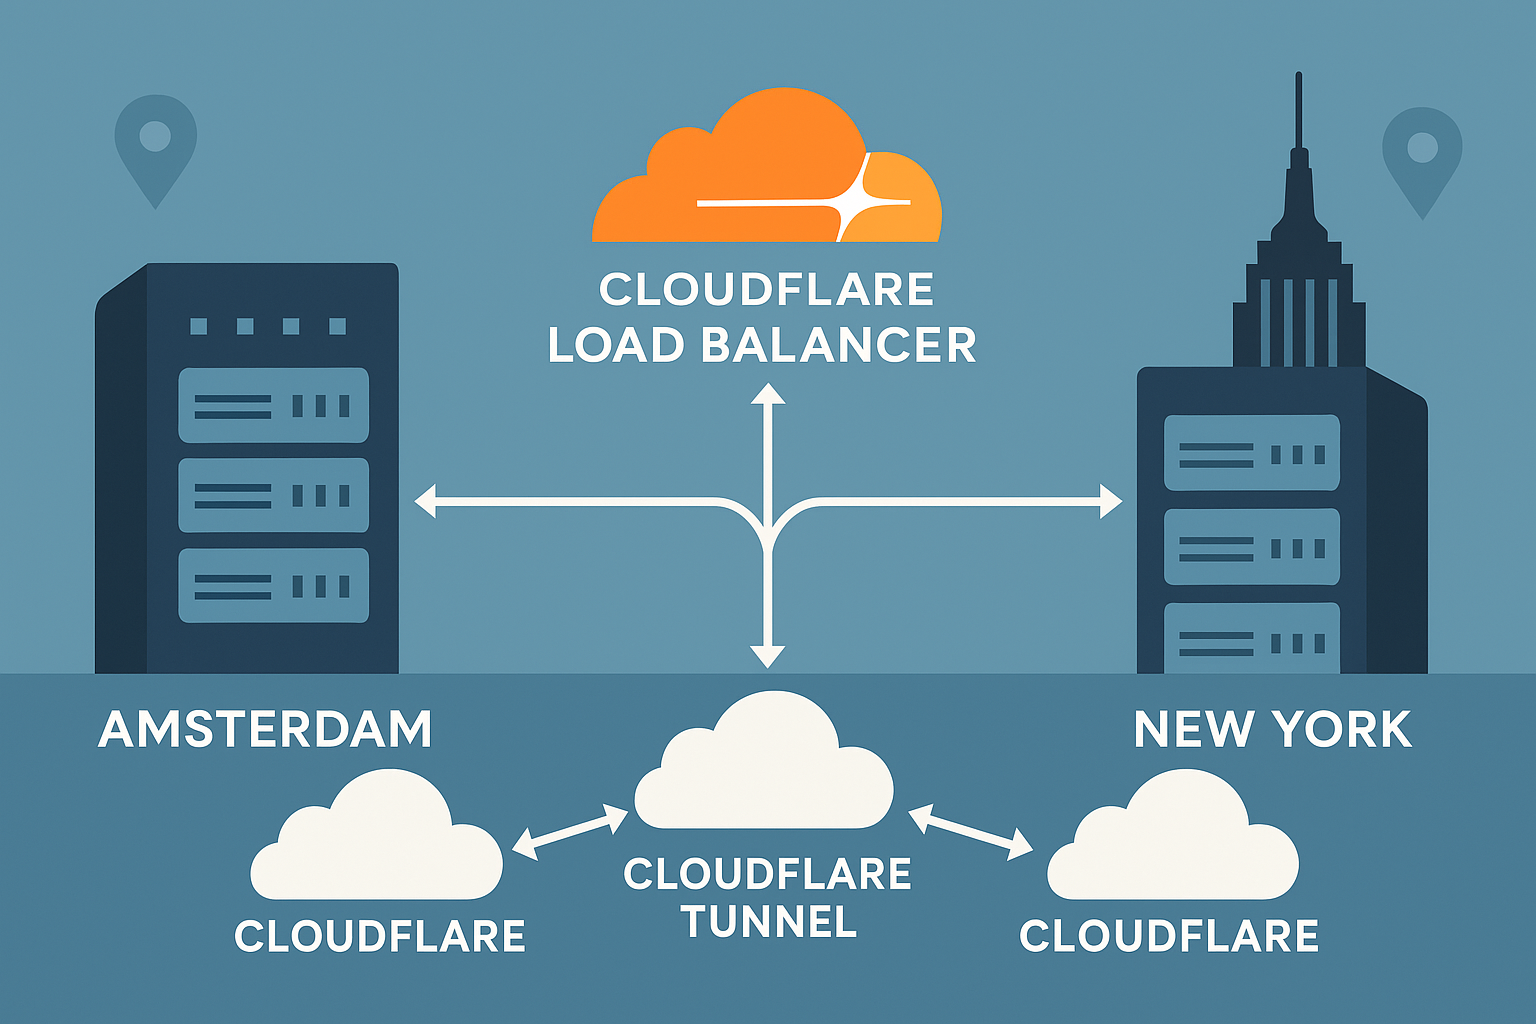
Deploy High-Availability Cloudflare Tunnel with Multi-Region Failover: Amsterdam and New York VPS Setup Guide (2025)
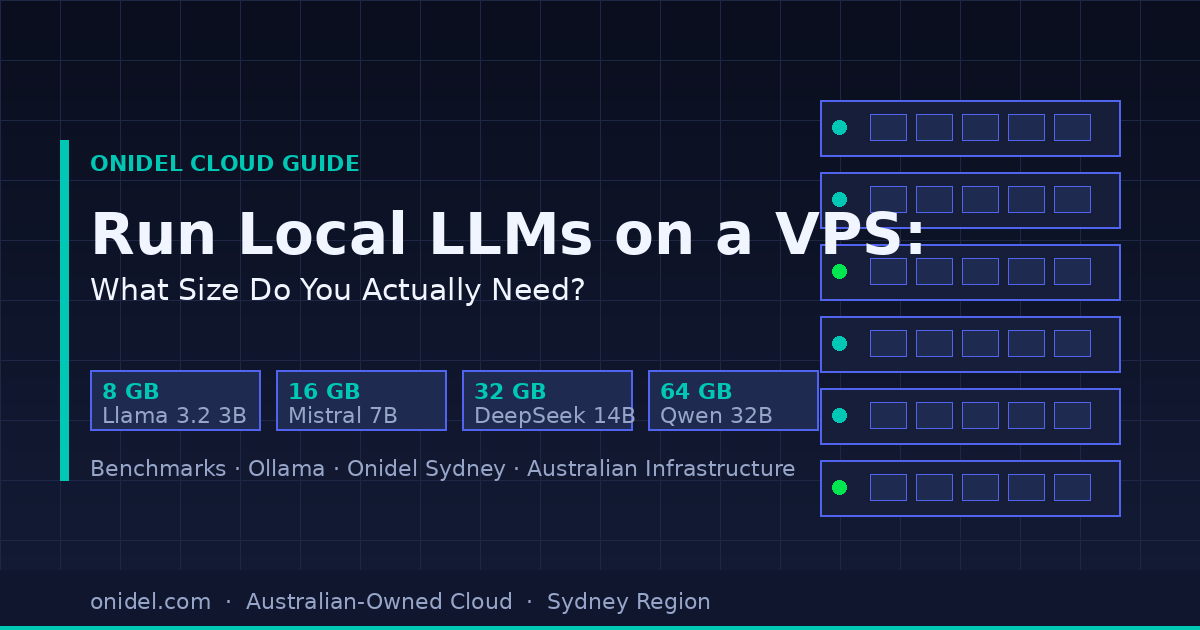
Run Local LLMs on a VPS: What Instance Size Do You Actually Need?